
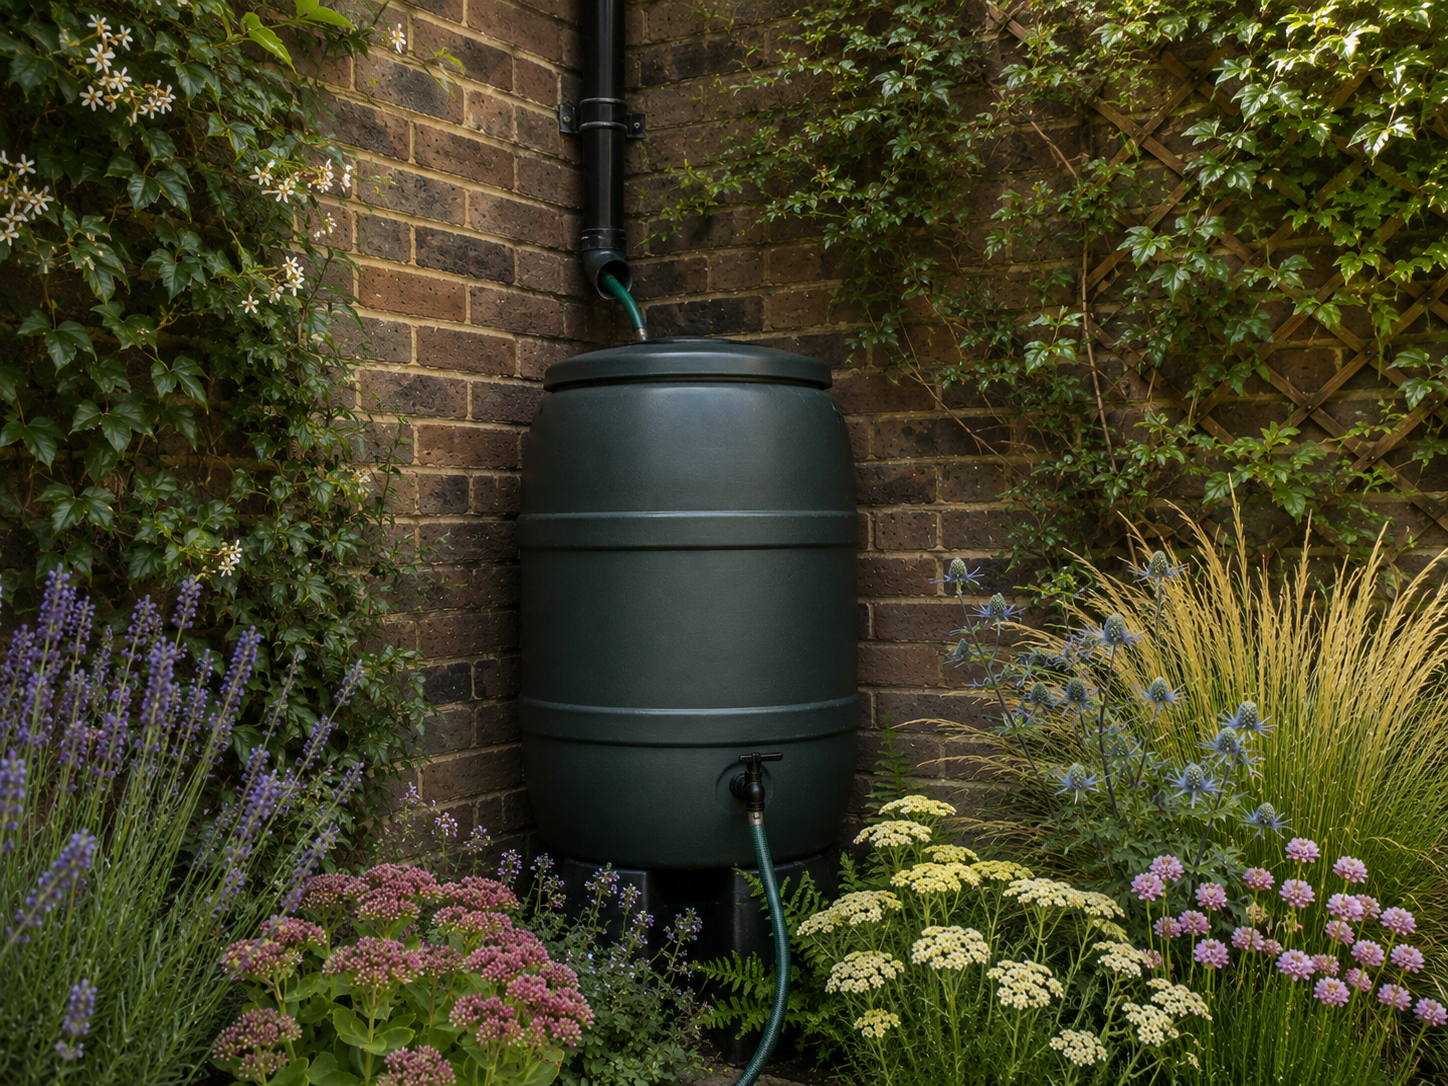
With rain finally back after a long dry stretch, now is exactly the right time to start catching it. A water butt is one of the cheapest, lowest-effort changes you can make to how your garden copes with the next dry spell — here’s what actually matters when choosing one.
Why bother with a water butt
Free rainwater, collected while it’s falling, means you’re not relying entirely on mains water (or facing a hosepipe ban) when the next dry spell hits. Many plants also genuinely prefer rainwater to tap water, since it’s naturally soft and free of the chlorine and added minerals found in mains supply. And with UK summers trending hotter and drier, having stored water ready to go, rather than starting from empty, makes the next heatwave considerably less stressful to manage.
What size do you actually need
Water butts are usually sold in sizes from around 100 litres up to 300 litres or more, sometimes linked together for even greater capacity.
- 100–150 litres suits a small garden, patio, or balcony with a handful of pots and containers
- 210 litres is a solid middle-ground choice for an average UK garden with borders and a modest lawn
- 350 litres or linked systems make sense for a larger garden, an allotment, or if you’re serious about reducing mains water use significantly
As a rough guide: a single heavy downpour on an average UK roof can generate several hundred litres of runoff, so even a 200-litre butt fills faster than most people expect — it’s rarely a case of “too big.”
Where to position it
- Directly under a downpipe from your house, garage, or shed roof — this is by far the easiest way to collect water without extra kit
- On level, stable ground — a full water butt is extremely heavy (a 200-litre butt full of water weighs around 200kg), so it needs solid footing, ideally on a purpose-made stand or paving slabs
- Close to where you’ll actually use the water — a butt tucked in an inaccessible corner tends to get used far less than one near your main borders or greenhouse
What to look for when buying
A proper diverter kit
Most water butts either come with, or can be fitted with, a rainwater diverter that redirects water from your existing downpipe into the butt, and automatically overflows back into the downpipe once the butt is full. This is much less hassle than cutting and repositioning the downpipe itself.
A tap positioned low enough for a watering can
Sounds obvious, but some cheaper butts have taps positioned too high to fit a full watering can underneath comfortably. Check this before buying if you can.
A lid or mesh cover
Keeps debris, leaves, and mosquitoes out, and is a genuine safety consideration if you have young children or pets around the garden.
Material and UV resistance
Most water butts are plastic; look for ones described as UV-stabilised, since cheap, non-UV-treated plastic can become brittle and crack after a couple of summers in direct sun.
Slimline and decorative options
If space or appearance is a concern, slimline water butts (designed to sit flat against a wall) and decorative options styled to look like terracotta pots or wooden barrels are widely available, usually at a slightly higher price than a standard round butt. Worth considering if the butt will be somewhere visible, like a front garden or near a patio.
Maintenance worth knowing about
- Empty and rinse out annually, ideally in early spring, to clear out sediment and algae build-up before the main growing season
- Check the diverter isn’t blocked after autumn leaf-fall, since blocked diverters are a common reason butts stop filling properly
- Raise it on a stand if you haven’t already — even a modest stand makes filling a watering can from the tap far easier than crouching to a ground-level tap
The bottom line
A water butt is a small, one-off cost that pays for itself the first time you’re watering containers or new plants during a dry spell without touching the mains. With rain finally back, now is the ideal window to get one installed and positioned before it’s needed in earnest again next summer.
Leave a Reply