Category: Water-Wise Gardening

  • Gravel Garden Ideas: Cost, Planning, and How to Get Started

    Gravel Garden Ideas: Cost, Planning, and How to Get Started

    If certain patches of your garden scorch every single year no matter what you plant there, it might be time to stop fighting the spot and work with it instead. A gravel garden is one of the most effective ways to turn a stubbornly dry, sun-baked area into a genuinely low-maintenance, good-looking feature — here’s what it actually involves.

    What is a gravel garden, exactly

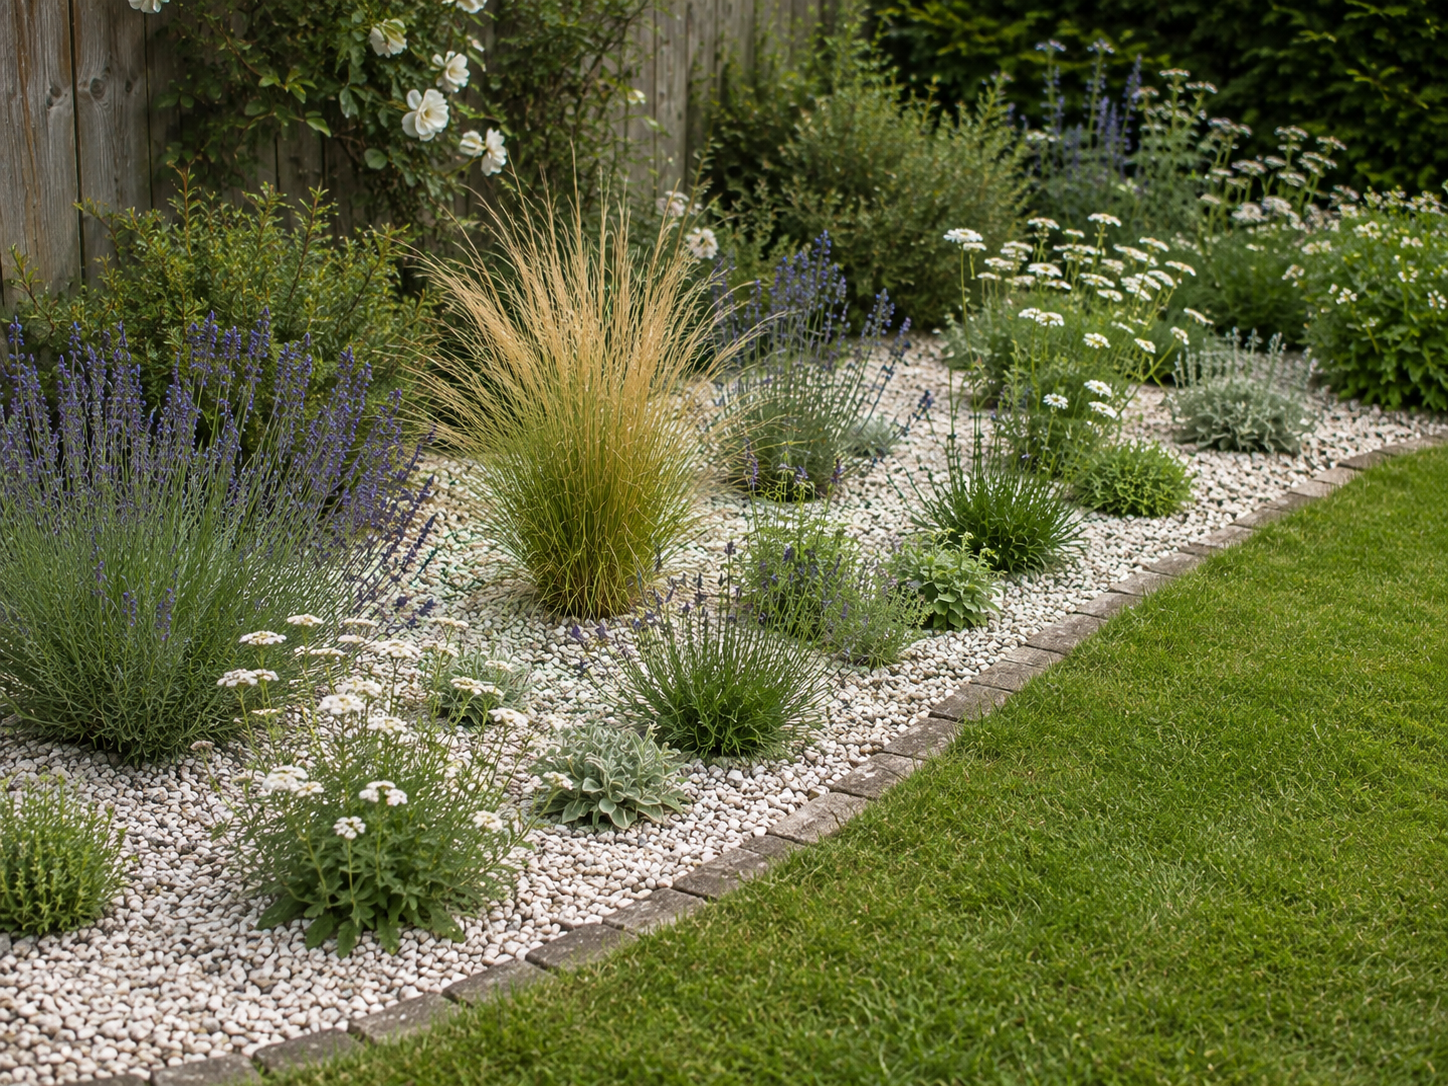
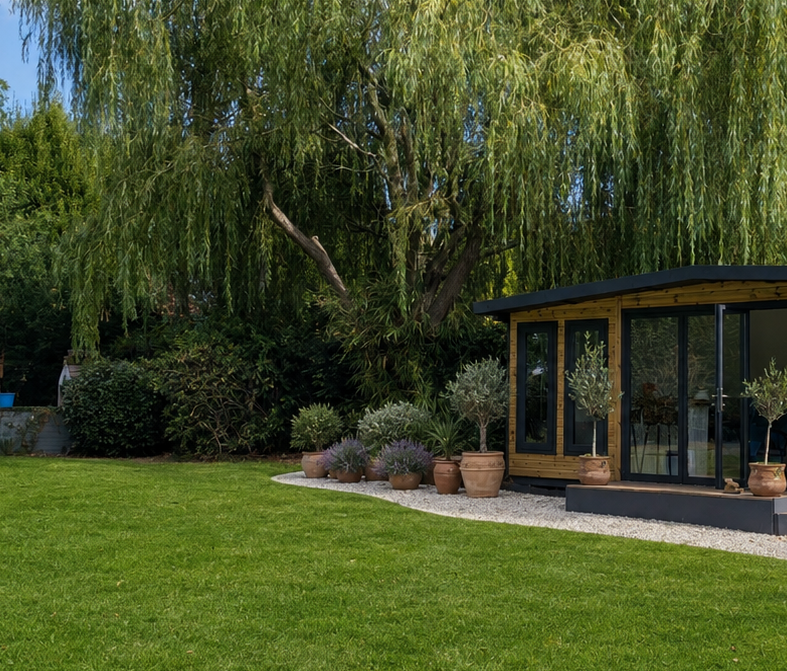
    A gravel garden replaces some or all of a lawn or border area with a layer of decorative gravel, usually planted through with drought-tolerant species. Rather than gravel simply covering bare ground, plants grow directly through it, roots reaching down into the soil below. The gravel itself helps suppress weeds, retains some soil moisture underneath, and reflects heat away from plant roots rather than trapping it.

    It’s a genuinely different approach to a “gravel path” or driveway — a well-planted gravel garden looks more like a naturalistic, Mediterranean-style border than a hard landscaping feature.

    Why it works so well for dry, sunny spots

    • No mowing, no reseeding, no scorched-lawn cycle every summer
    • Excellent drainage — ideal for plants that hate sitting in wet clay over winter, since the gravel keeps the crown of the plant clear of standing moisture
    • Reduces watering need dramatically once established, since gravel acts as a mulch layer holding moisture in the soil beneath
    • Suits exactly the conditions many gardens now struggle with — full sun, thin or poor soil, south-facing slopes

    Roughly what it costs

    Costs vary considerably by region, gravel type, and area size, but as a rough guide for a UK garden:

    • Gravel itself: typically £40–£80 per tonne depending on type (decorative gravels like Cotswold buff or slate chippings cost more than basic ballast); a tonne covers roughly 10–12 square metres at a standard 5cm depth
    • Membrane (weed suppressant fabric): £20–£40 for a medium-sized garden roll
    • Plants: highly variable, but budgeting £8–£15 per plant for decent-sized drought-tolerant perennials is reasonable; a modest area might need 15–25 plants
    • DIY versus hiring help: doing it yourself keeps costs to materials only; hiring a landscaper to prepare, lay, and plant a medium area typically adds several hundred pounds in labour, depending on your region and the complexity of the site

    For a modest 15–20 square metre area done as a DIY project, a realistic total budget is often somewhere in the £300–£600 range, mostly weighted toward plants rather than gravel itself.

    How to plan and build one

    1. Assess drainage first

    Gravel gardens work best on free-draining soil. If your soil is heavy clay that holds standing water for long periods after rain, you’ll need to improve drainage before starting — usually by digging in horticultural grit or coarse sand to a reasonable depth, particularly in the planting holes themselves.

    2. Clear the area

    Remove existing turf, weeds, and any old plants you don’t want to keep. Dig out perennial weed roots thoroughly, since they’re much harder to remove once gravel and membrane are down.

    3. Decide on membrane or no membrane

    A weed-suppressant membrane laid before the gravel significantly reduces weed growth long-term, but some gardeners prefer to skip it, since it can make it harder for self-seeding plants to spread naturally and can restrict deep-rooting plants slightly. For a lower-maintenance approach, membrane is generally worth it; for a more naturalistic, evolving planting style, some gardeners go without.

    4. Plant through the membrane (or straight into soil)

    Cut cross-shaped slits in the membrane where each plant goes, dig the planting hole through it, and plant as normal. Water in thoroughly regardless of the season.

    5. Lay the gravel

    Spread gravel to a depth of around 4–5cm across the whole area, working it gently around the base of each plant. Avoid piling gravel directly against plant stems, which can encourage rot.

    6. Water well for the first year

    Even drought-tolerant planting needs regular watering while establishing — don’t assume the gravel garden looks after itself from day one. By year two, most plants should need minimal supplementary watering.

    Plants that suit a gravel garden particularly well

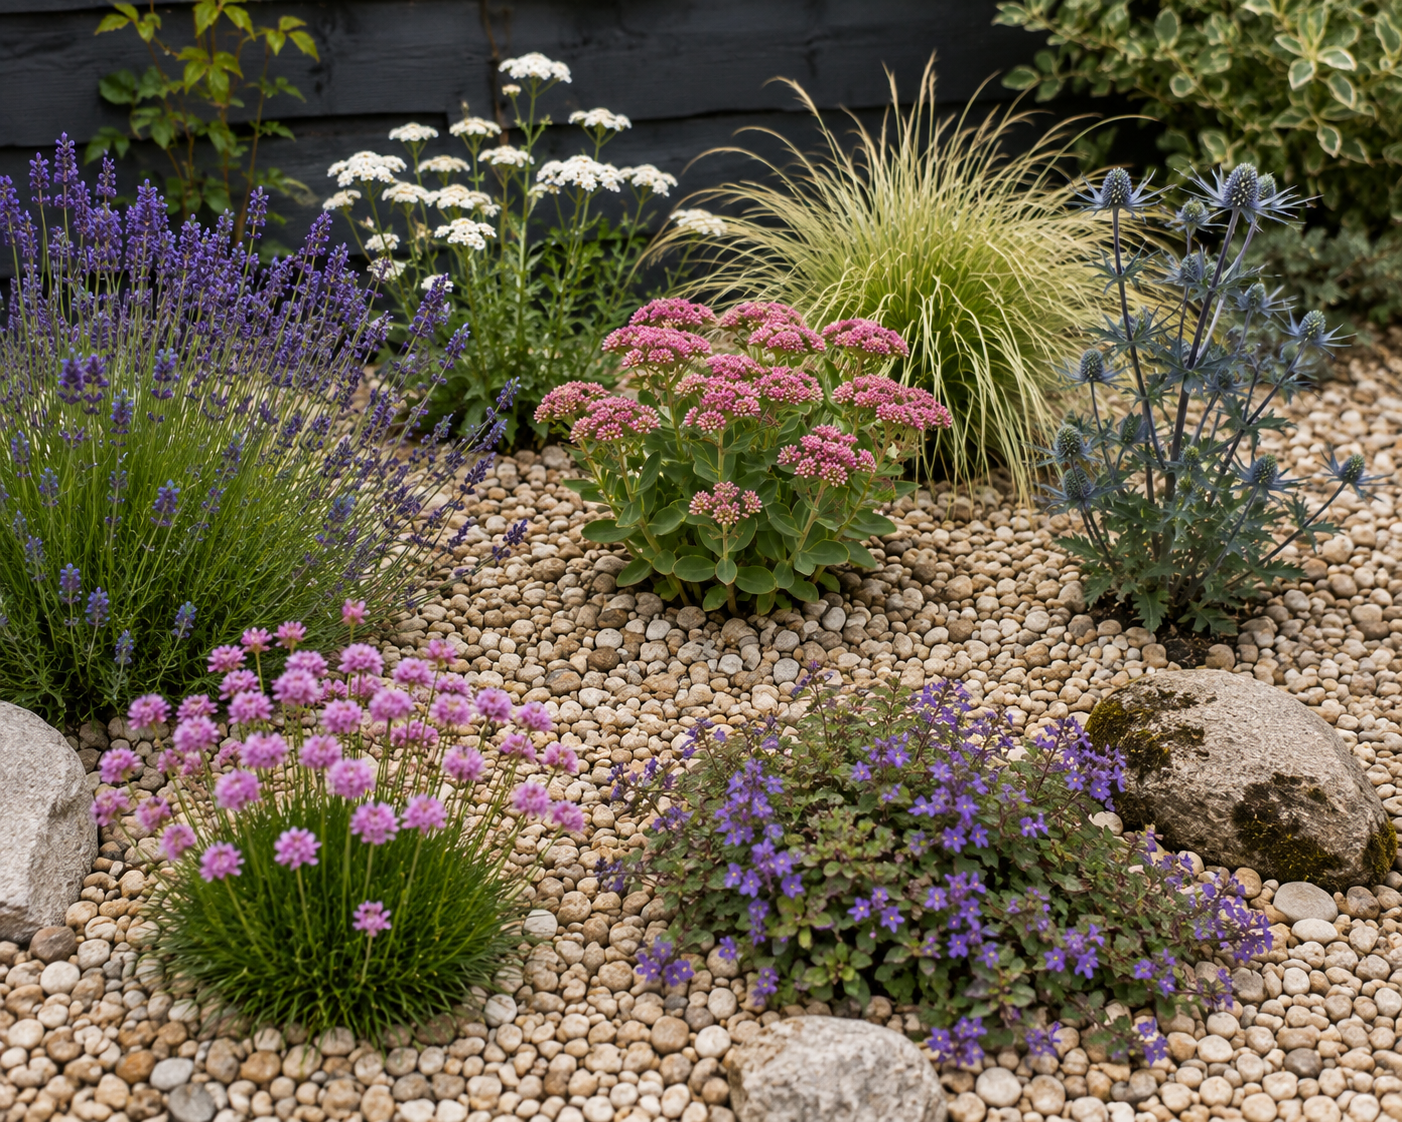
    Many of the plants covered in our drought-tolerant plants guide work brilliantly in gravel specifically — lavender, sedum, ornamental grasses, and sea holly all thrive in these free-draining, sun-baked conditions. Achillea and catmint also do well threading through gravel in a more relaxed, naturalistic style.

    The bottom line

    A gravel garden isn’t a quick weekend project, but it’s a genuinely permanent solution to the areas of a garden that fight you every summer. Once established, it needs a fraction of the time, water, and money that repeatedly nursing a struggling lawn or border through each dry spell demands — and it tends to look better doing it.

  • Water Butt Buying Guide: Getting the Most From Rainwater in a UK Garden

    Water Butt Buying Guide: Getting the Most From Rainwater in a UK Garden

    With rain finally back after a long dry stretch, now is exactly the right time to start catching it. A water butt is one of the cheapest, lowest-effort changes you can make to how your garden copes with the next dry spell — here’s what actually matters when choosing one.

    Why bother with a water butt

    Free rainwater, collected while it’s falling, means you’re not relying entirely on mains water (or facing a hosepipe ban) when the next dry spell hits. Many plants also genuinely prefer rainwater to tap water, since it’s naturally soft and free of the chlorine and added minerals found in mains supply. And with UK summers trending hotter and drier, having stored water ready to go, rather than starting from empty, makes the next heatwave considerably less stressful to manage.

    What size do you actually need

    Water butts are usually sold in sizes from around 100 litres up to 300 litres or more, sometimes linked together for even greater capacity.

    • 100–150 litres suits a small garden, patio, or balcony with a handful of pots and containers
    • 200 litres is a solid middle-ground choice for an average UK garden with borders and a modest lawn
    • 300 litres or linked systems make sense for a larger garden, an allotment, or if you’re serious about reducing mains water use significantly

    As a rough guide: a single heavy downpour on an average UK roof can generate several hundred litres of runoff, so even a 200-litre butt fills faster than most people expect — it’s rarely a case of “too big.”

    Where to position it

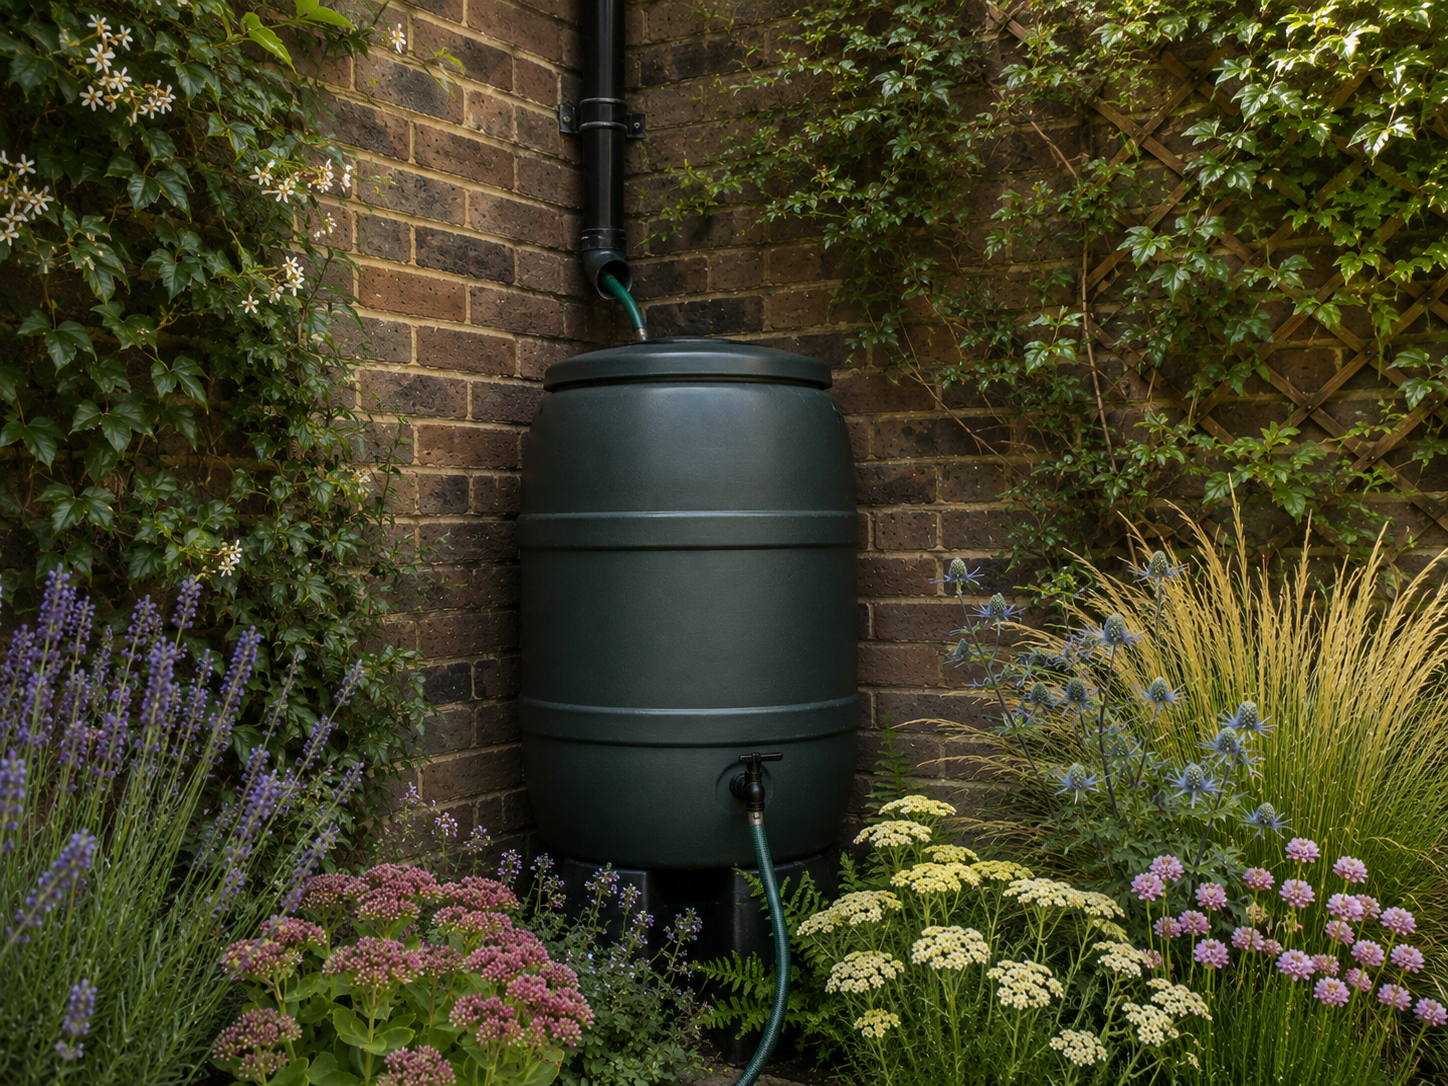
    • Directly under a downpipe from your house, garage, or shed roof — this is by far the easiest way to collect water without extra kit
    • On level, stable ground — a full water butt is extremely heavy (a 200-litre butt full of water weighs around 200kg), so it needs solid footing, ideally on a purpose-made stand or paving slabs
    • Close to where you’ll actually use the water — a butt tucked in an inaccessible corner tends to get used far less than one near your main borders or greenhouse

    What to look for when buying

    A proper diverter kit

    Most water butts either come with, or can be fitted with, a rainwater diverter that redirects water from your existing downpipe into the butt, and automatically overflows back into the downpipe once the butt is full. This is much less hassle than cutting and repositioning the downpipe itself.

    A tap positioned low enough for a watering can

    Sounds obvious, but some cheaper butts have taps positioned too high to fit a full watering can underneath comfortably. Check this before buying if you can.

    A lid or mesh cover

    Keeps debris, leaves, and mosquitoes out, and is a genuine safety consideration if you have young children or pets around the garden.

    Material and UV resistance

    Most water butts are plastic; look for ones described as UV-stabilised, since cheap, non-UV-treated plastic can become brittle and crack after a couple of summers in direct sun.

    Slimline and decorative options

    If space or appearance is a concern, slimline water butts (designed to sit flat against a wall) and decorative options styled to look like terracotta pots or wooden barrels are widely available, usually at a slightly higher price than a standard round butt. Worth considering if the butt will be somewhere visible, like a front garden or near a patio.

    Maintenance worth knowing about

    • Empty and rinse out annually, ideally in early spring, to clear out sediment and algae build-up before the main growing season
    • Check the diverter isn’t blocked after autumn leaf-fall, since blocked diverters are a common reason butts stop filling properly
    • Raise it on a stand if you haven’t already — even a modest stand makes filling a watering can from the tap far easier than crouching to a ground-level tap

    The bottom line

    A water butt is a small, one-off cost that pays for itself the first time you’re watering containers or new plants during a dry spell without touching the mains. With rain finally back, now is the ideal window to get one installed and positioned before it’s needed in earnest again next summer.

  • What to Do With Your Garden After a Hosepipe Ban

    What to Do With Your Garden After a Hosepipe Ban

    Hosepipe bans have become a regular feature of UK summers, and for many gardeners this year’s restrictions meant watching plants and lawns struggle with little you could legally do about it. Whether your ban has just lifted or is still in place, here’s how to manage your garden through it and recover once it ends.

    First, check your ban is actually still active

    Hosepipe ban start and end dates vary by water company and region, and restrictions can lift with surprisingly little notice once reservoir and river levels recover. Before doing anything, check your specific water company’s current guidance — a ban in one part of the country doesn’t mean it applies everywhere, and neighbouring postcodes can be under different water companies with different rules.

    What’s usually still allowed during a ban

    Hosepipe bans typically restrict the use of a hosepipe connected to the mains for garden watering, but most water companies still permit:

    • Watering with a watering can, filled from a tap or water butt
    • Using water butts and stored rainwater freely, since it isn’t mains supply
    • Grey water reuse — water from washing up, baths, or cooking (once cooled), applied by hand
    • Watering hanging baskets and containers by hand in most cases, since these dry out fastest and often have specific exemptions

    Always check your own water company’s exact rules, since some allow watering food-producing plants (fruit and vegetables) by hosepipe even during a ban, given the different priority placed on food growing.

    Prioritising what to water by hand

    If you’re limited to a watering can, focus your effort where it matters most:

    1. Newly planted trees, shrubs, and perennials (anything planted in the last 1–2 years) — these have shallow root systems and are far more vulnerable than established plants
    2. Fruit and vegetables, particularly at flowering and fruiting stages
    3. Containers and hanging baskets, which dry out fastest and have no access to groundwater
    4. Anything in a raised bed, for the same reason

    Lawns are usually the lowest priority. As covered in our lawn recovery guide, most UK lawn grasses go dormant rather than dying outright, and will typically recover once the ban lifts and rain returns.

    Making the most of what water you do have

    • Water at dawn or dusk, when evaporation is lowest and more of what you apply actually reaches the roots
    • Water deeply but less often, rather than little and frequently — this encourages roots to grow deeper in search of moisture, making plants more resilient
    • Mulch after watering to lock moisture into the soil rather than letting it evaporate straight back out
    • Group containers together in a shadier spot during the hottest part of the day to reduce how often they need watering

    Once the ban lifts

    • Resist the urge to blast everything with the hose immediately. A sudden flood of water after prolonged drought can actually stress plants and encourage shallow rooting. Stick to the same deep, infrequent watering approach.
    • Assess damage properly before making changes — many plants that looked dead during the ban will recover once normal watering resumes, so hold off on removing or replacing anything until you’ve given it a few weeks.
    • Top up water butts as soon as rain returns, so you’re not starting from empty if restrictions come back next summer.

    Reducing how much a future ban affects you

    If this year’s ban was a wake-up call, a few changes make the next one considerably less stressful:

    • Water butts connected to downpipes — even one or two average-sized butts store a meaningful amount of water for hand-watering priority plants during a ban
    • Mulching beds annually to reduce how fast soil dries out in the first place
    • Choosing drought-tolerant plants for anything new you plant, so future dry spells are less of a crisis
    • Grouping plants by water needs so you’re not trying to keep thirsty and drought-tolerant plants alive side by side with limited water

    We’ll cover water butts and rainwater harvesting setup, along with drought-tolerant planting choices, in the next guides.

    The bottom line

    A hosepipe ban limits how you water, not whether your garden survives. Hand-watering with a can, prioritising vulnerable plants, and using stored or grey water gets most gardens through without lasting damage — and it’s a good prompt to set up water storage so the next ban is less of a scramble.